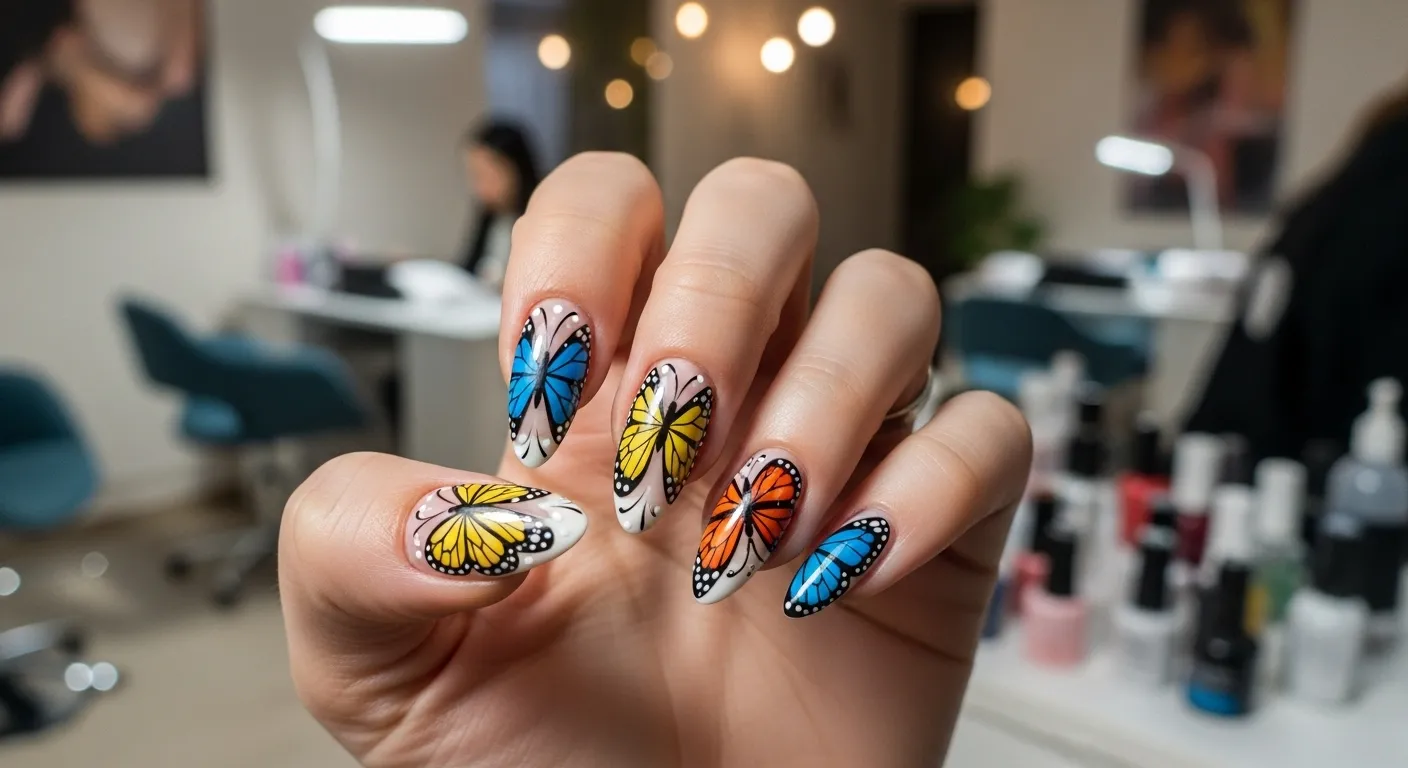
17+ Butterfly Nail Art Ideas: Pretty Designs, Colors & Tips
People often search for Butterfly Nail Art when they want something cute, creative, and eye-catching for a special day or daily wear. This style lets them show color, movement, and personality in a small space. With simple tools and a few steady steps, butterfly nails can look salon-level at home. They can try soft, dreamy looks or bright, bold wings. Butterfly Nail Art also pairs well with many outfits and seasons.
This guide fits the calm planning moments people enjoy in a LIVING ROOM, where they map out colors and practice tiny details. It shows how to pick shades, place wings, and seal designs so they last. Readers will find ideas that match their mood and skill level. They can start small and build confidence with each set. Now, let’s explore pretty, fun, and easy ideas to try right away.
17+ Butterfly Nail Art Ideas: Styles, Colors & Tips
1- Soft Pastel Wings
Soft pastels give nails a dreamy, gentle look that suits almost anyone. Shades like mint, lilac, baby blue, and blush feel calm and fresh. These colors make Butterfly Nail Art feel light and airy, perfect for spring or casual weekends. They also look great on short nails, which keeps the design tidy. A subtle wing on one or two nails adds just enough detail.

Mix two pastel tones for variety without crowding the design.
Tip: Pair a pastel base with a white butterfly outline for contrast. If they want more depth, add a tiny sparkle dot near the wing. She wore pastel wings to brunch and got quick compliments.
2- Bold Neon Accent
Neon details make Butterfly Nail Art stand out with fun energy. Hot pink, electric orange, and lime green pop against nude or pale bases. Neon wings look best when used as accents, not on every nail. This keeps the set balanced and wearable. The bright glow feels great for parties or summer nights.
Use neon on one or two accent nails and keep the rest simple.
Tip: Outline the wings in black to sharpen the neon effect. A glossy top coat helps neon shine brighter. They tried a neon wing for a birthday weekend and loved the look.
3- Glitter Dust Finish
Glitter adds shine without taking over the design. A dusting near the tips or wing edges gives a gentle sparkle. This finish works with soft pinks, nudes, or pale blues. It looks especially nice under warm light. Glitter also hides tiny brush marks.
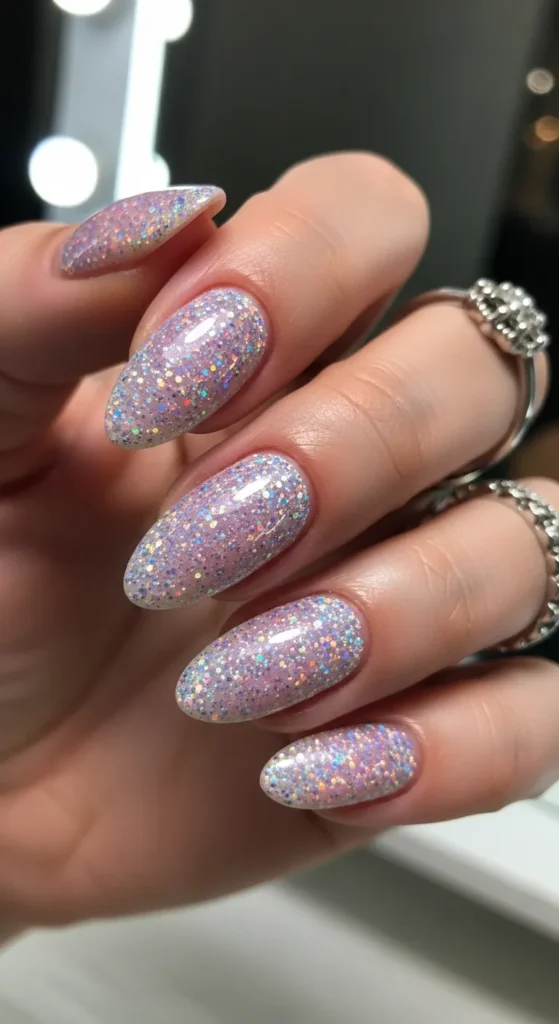
Pair glitter with simple patterns so the wings stay clear.
Tip: Use fine glitter for a smooth, even glow. Seal with two thin top coat layers to avoid texture. Butterfly Nail Art with glitter dust feels festive but still elegant.
4- Blue Sky Theme
A calm blue background makes butterfly shapes pop like they’re flying. Choose a soft gradient that moves from pale blue to white. This “sky” effect sets a peaceful tone. Butterflies in white, silver, or light purple look crisp on top. It’s a fresh look for vacations or long weekends.
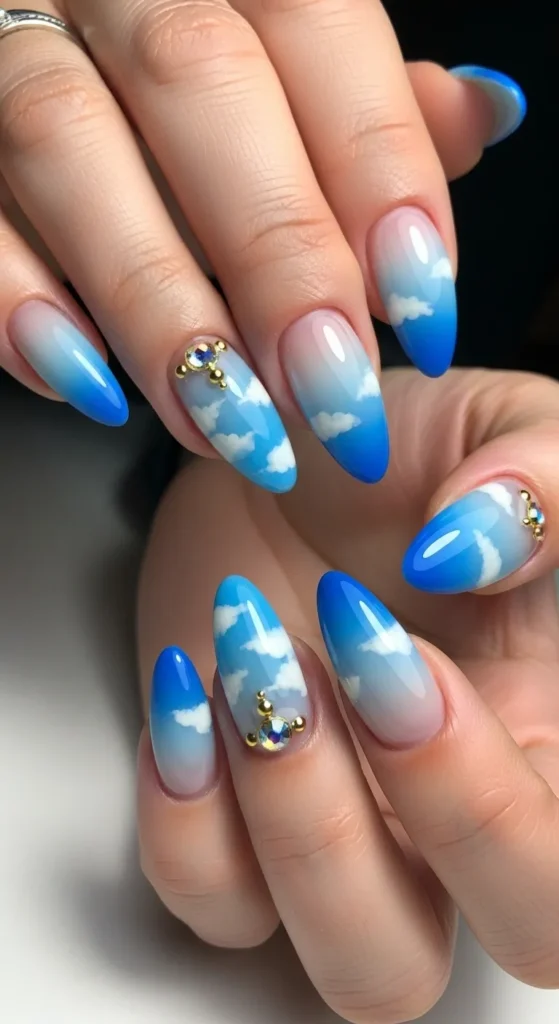
Blend colors using a sponge for a smooth ombre.
Tip: Keep wings delicate so the sky backdrop stays visible. Add a tiny cloud shape on one nail if they like whimsy. This version of Butterfly Nail Art feels open and serene.
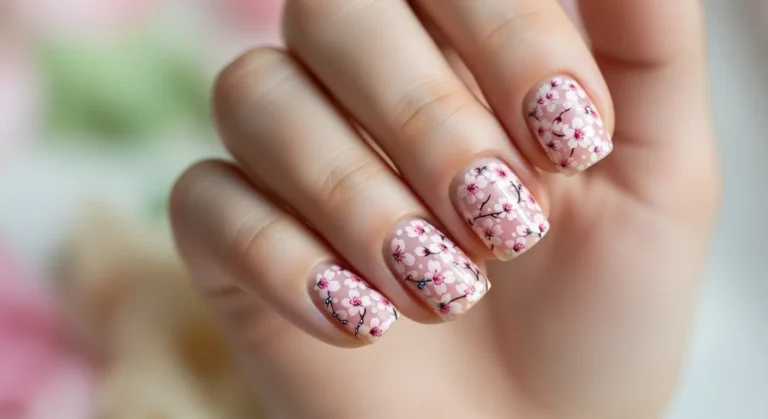
5- Pink Floral Mix
Small flowers add a sweet, fresh mood to butterfly designs. Tiny petals near a wing corner create a soft garden feel. This mix fits the slow, cozy rhythm of a LIVING ROOM nail session. Keep the colors light so the look stays neat. It’s perfect for showers, picnics, or photos.
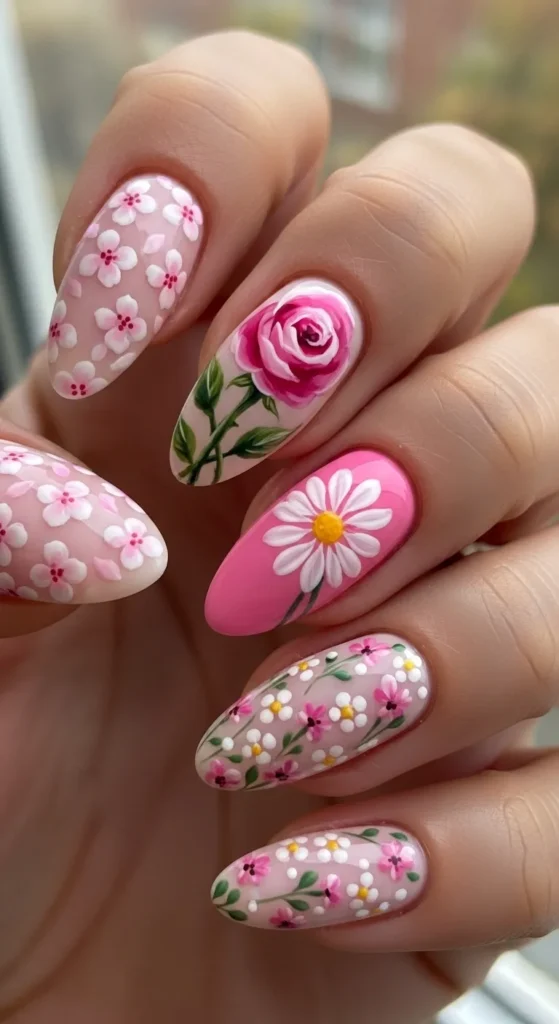
Keep both butterflies and flowers small for clarity.
Tip: Limit the set to two floral nails and two wing nails. Use a fine brush for dots and petal tips. They tried pink florals once and loved how gentle it felt.
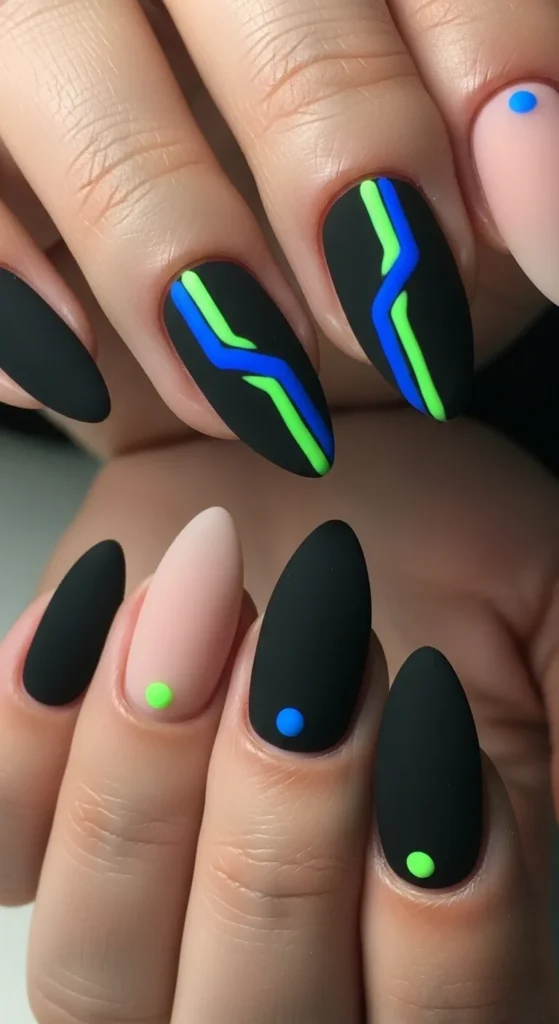
6- Black Outline Art
Thin black outlines create a modern, crisp finish. Draw simple wing shapes over a light base like nude, pearl, or cream. The contrast makes the design look professional. It also suits short or medium nail lengths. This option is bold and clean at the same time.
Keep the base color light so lines stand out.
Tip: Use a striping brush for steady, narrow strokes. Finish with a shiny top coat to smooth the edges. Black-outlined Butterfly Nail Art fits both casual and dressy looks.
7- Metallic Shine Style
Metallic shades give nails a polished, bold feel. Gold, silver, rose gold, or chrome add instant glam to butterfly wings. Use metal for outlines or small wing details, not full coverage. This keeps the look balanced and fresh. It works for events or holiday dinners.
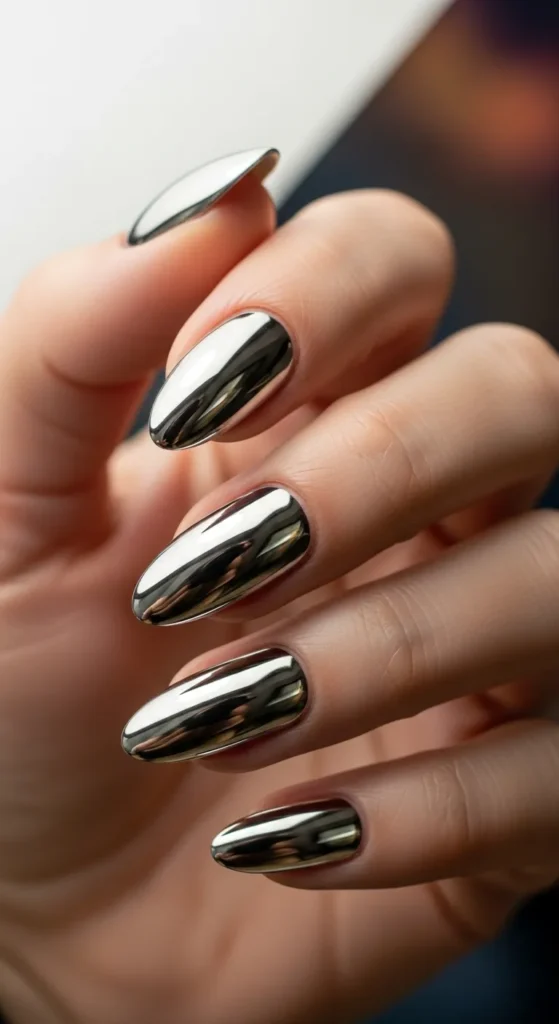
Mix metallics with soft tones like beige, blush, or powder blue.
Tip: Repeat the metal shade on a ring or bracelet for harmony. Add one metallic accent nail to tie everything together. Butterfly Nail Art with metallic shine looks luxe with little effort.
8- Pastel French Tips
A twist on classic French tips feels chic and playful. Use pastel tips—mint, lavender, or peach—and add tiny butterflies near the smile line. The result is subtle yet special. It flatters short and medium nails well. This style fits office-friendly rules with a cute edge.
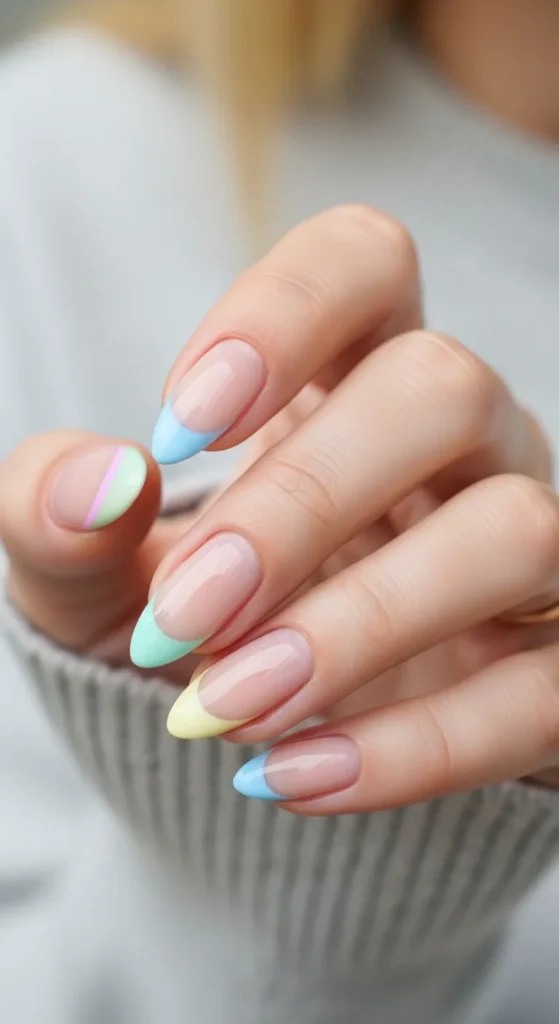
Pick soft colors for a gentle touch.
Tip: Keep the butterflies tiny so the French line stays clean. A milky base makes pastels glow. They wore pastel tips to a family lunch and kept getting noticed.
9- Purple Dream Design
Purple tones create a magical, fantasy-like effect. Blend lilac and deep violet for depth and shine. Add simple wings in white or silver for contrast. This palette feels rich but calm. It’s a favorite for evening plans and cool-weather outfits.
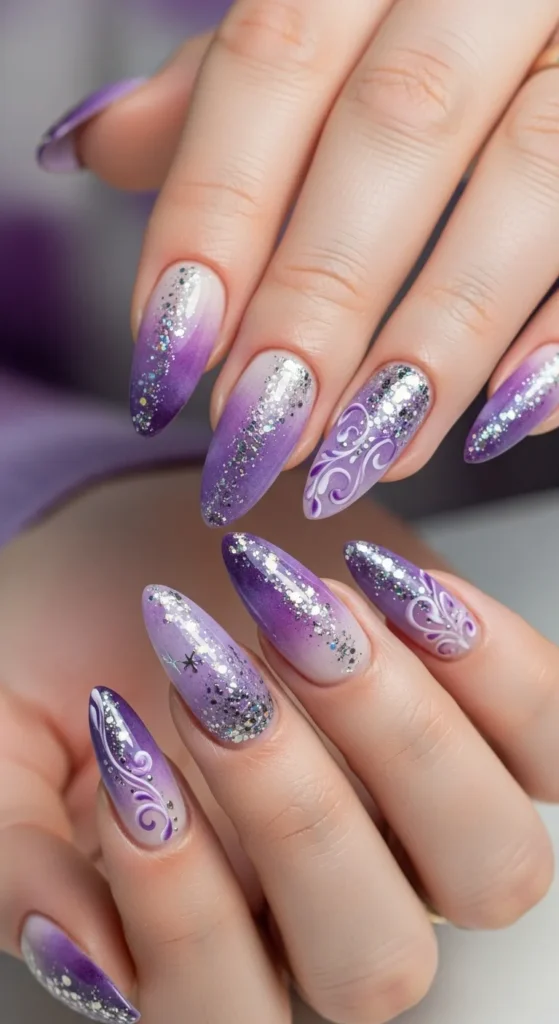
Blend two shades of purple to build a soft ombre.
Tip: Highlight one nail with a bolder wing to lead the set. A satin top coat adds a dreamy finish. Butterfly Nail Art in purple looks royal and romantic.
10- Minimal Dot and Wing
Tiny dots and partial wings give a subtle, elegant vibe. Paint half a wing near the corner and add three small dots nearby. The design looks delicate and modern. It suits a calm, minimalist wardrobe. It also grows nail art skills without stress.
Use thin brushes for neat detailing.
Tip: Keep gaps between dots even for tidy spacing. Choose a clear or nude base to let the shapes breathe. They tried this look once and loved the simple charm.
11- Rainbow Splash
Rainbow colors create a playful, happy mood. Try watercolor blends for soft transitions. Paint one accent nail with rainbow wings and keep others neutral. This method adds fun without overload. It’s great for festivals and sunny trips.
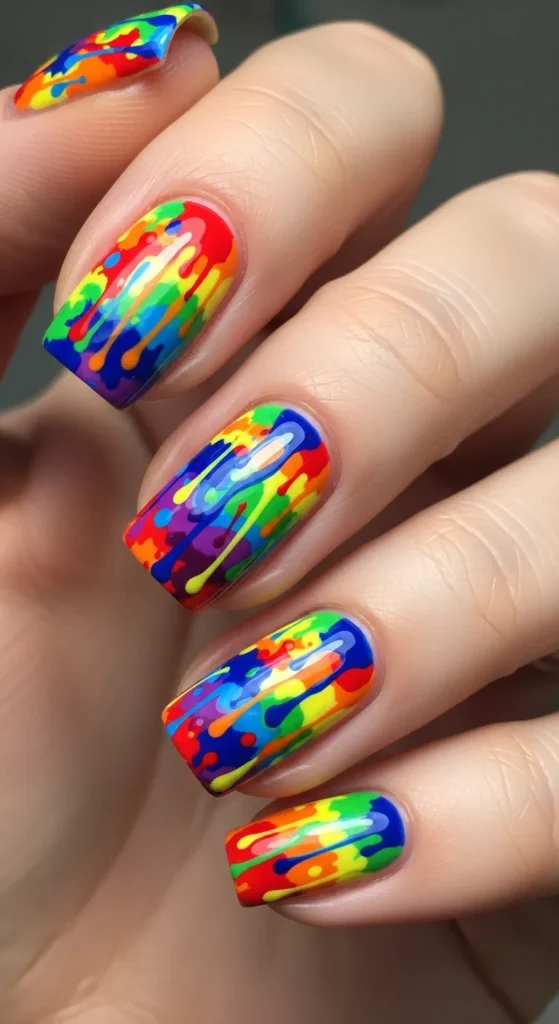
Use the rainbow on one accent nail and repeat a single shade elsewhere.
Tip: A glossy top coat brings out the watercolor effect. Keep shapes light so colors shine through. Butterfly Nail Art with rainbow splash makes smiles happen.
12- White Elegant Finish
White designs look clean, soft, and classy anywhere, even during a cozy LIVING ROOM manicure. Outline wings in white over nude or sheer pink. The result feels bridal, formal, or just polished. It’s an easy way to look refined without bold color.
Pair white wings with a nude base for balance.
Tip: Add a thin pearl stripe on one nail for detail. Keep lines light to avoid a chalky look. This white finish keeps Butterfly Nail Art timeless.
13- Crystal Accent Touch
Tiny crystals add sparkle and dimension to wings. Place a crystal at the wing center or near the cuticle. This hint of light makes designs pop. It’s ideal for parties or photos. Keep crystals small so they don’t snag.
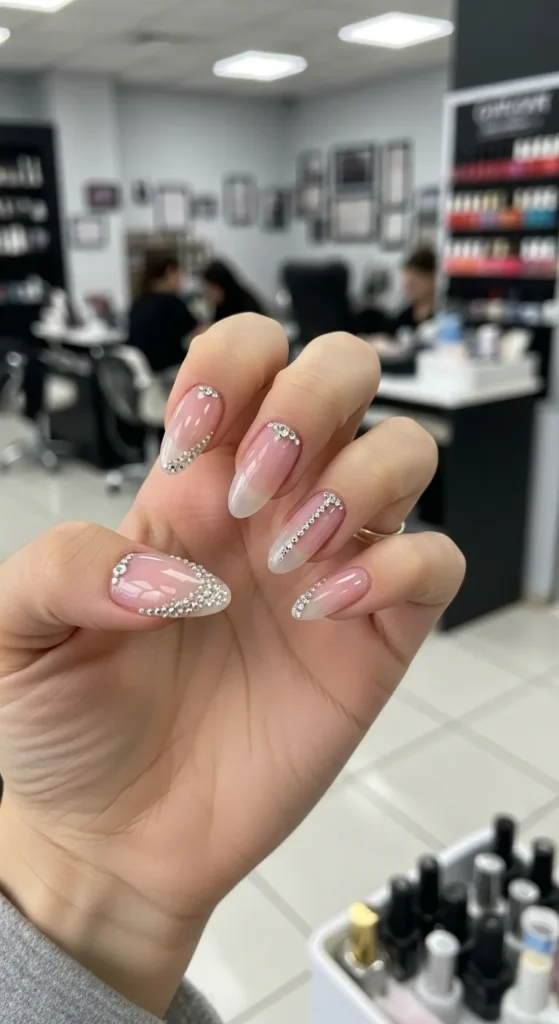
Place only one or two crystals per nail for balance.
Tip: Use nail glue and seal edges with top coat. If a crystal falls off, the design still looks neat. Butterfly Nail Art with crystals feels special and photo-ready.
14- Soft Ombre Blend
Ombre backgrounds make wings look soft and natural. Blend colors that sit close on the wheel—peach to pink, blue to lilac. The gradient gives gentle movement under the art. It’s great for sets with multiple patterns. The nails feel light and smooth.
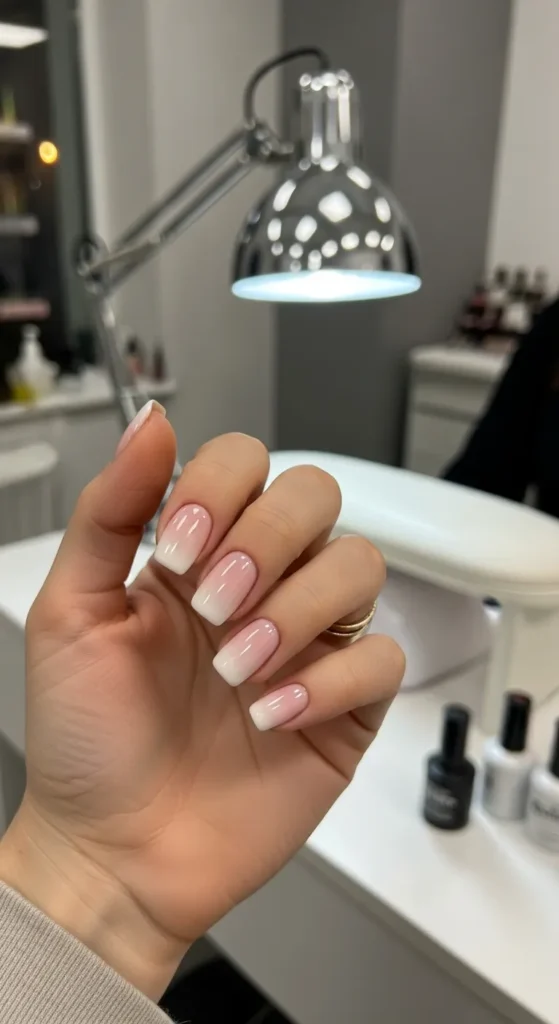
Blend with a sponge in thin layers.
Tip: Seal ombre before adding wings to prevent smudging. Keep wing lines fine so the gradient shows. This technique makes Butterfly Nail Art feel elevated and airy.
15- Dark Night Theme
Deep navy or black bases create drama and focus. Silver or holographic butterflies glow against the dark. The contrast looks bold and stylish. It’s perfect for nights out and cool seasons. Dark sets also pair well with leather and denim.
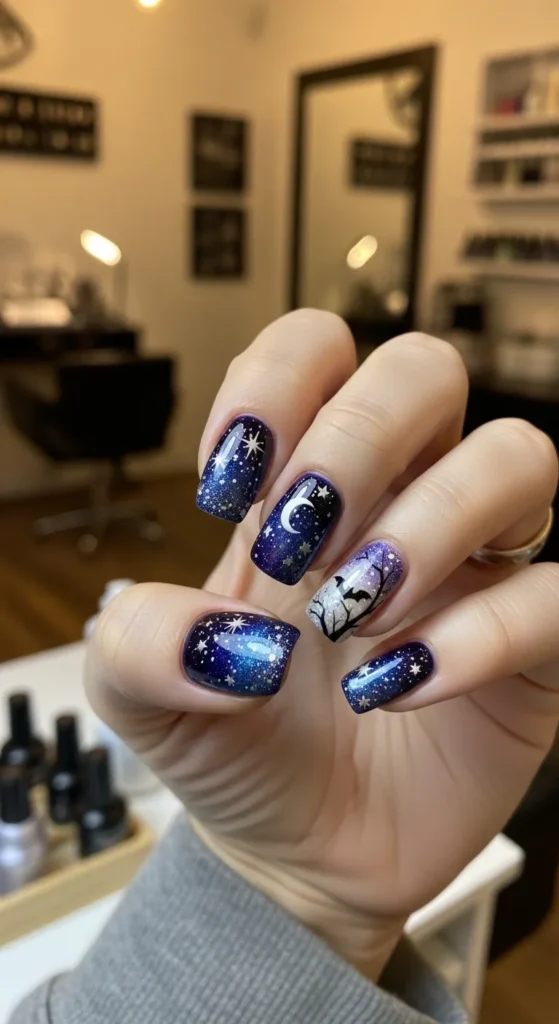
Use silver flakes or holo foil for lift.
Tip: Add a tiny star or moon near one wing for theme. Keep nail shapes tidy to match the sharp look. Butterfly Nail Art on dark bases is striking and strong.
16- Gold Foil Finish
Gold foil adds a luxury feel without much work. Keep foil pieces small and place them near wing tips. The glint catches light and draws the eye. It pairs well with beige, mauve, and soft gray. This style feels rich but still wearable.

Apply a tacky base, then press tiny foil bits.
Tip: Use a silicone tool to smooth foil gently. Seal well so edges don’t lift. Many love this high-end twist on Butterfly Nail Art.
17- Clear Glass Nails
Transparent nails make butterfly art look light and airy. Floating decals or hand-painted wings seem to hover. Clear bases also make growth less obvious. The result is fresh and modern. It’s ideal for low-maintenance weeks.
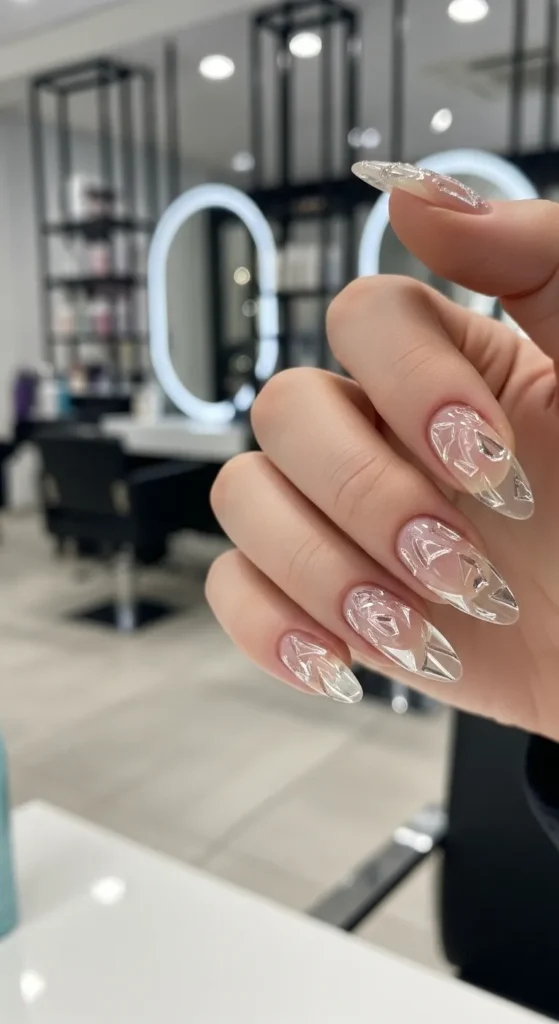
Add tiny sparkles for a glossy finish.
Tip: Keep glue thin so the clear base stays clean. Place art near the tips for a floating effect. Clear Butterfly Nail Art looks delicate yet current.
18- Mixed Pattern Set
Mixing stripes, dots, and butterflies creates a playful set. Each nail can show a different pattern with shared colors. This keeps the design cohesive and fun. It’s a great way to test new ideas. The look works for casual plans and creative moods.
Keep colors consistent to avoid overcrowding.
Tip: Use one “hero” nail with the boldest butterfly and let others support. Balance busy nails with a solid. Butterfly Nail Art thrives on smart mixing and matching.
Pro Styling Tips
Choose the right brush for the job: striping brushes for outlines, tiny detail brushes for dots, and flat brushes for smooth ombre. Work in thin layers so polish dries evenly and lines stay sharp. Seal every design with a long-wear top coat to protect edges and add shine. Keep acetone and a cleanup brush nearby to fix small slips fast without starting over.
Practice small details on a nail wheel before moving to hands. Use decals or stamps when time is short, and hand-paint when they want custom art. In a quiet LIVING ROOM, they can set up a small tray with tools, tissues, and a lamp for steady light. Replace files and buffers often for clean results.
Final Thoughts
Butterfly Nail Art can be soft, bold, or somewhere in between. With gentle layers, neat outlines, and a good top coat, designs look polished and last longer. They can start with one accent nail and grow into full sets. Each try builds skill and style.
Pick the idea that matches the mood or event, then personalize it with color and finish. Try one new wing shape this week and a new background next time. Keep what they love and change what they don’t. Most of all, have fun and let the nails tell a story.
FAQs
- How long do butterfly designs last on nails?
With base coat and two layers of top coat, designs often last 7–10 days on natural nails. - Can beginners create butterfly designs easily?
Yes, start with decals or stamps, then practice simple outlines and dots to build confidence. - What colors work best for butterfly patterns?
Pastels, nudes, and soft gradients are easy; bold looks use black, navy, neon, or metallic accents. - Do butterfly decals stay on well?
They stay on if applied to dry polish, pressed flat, and sealed with a quality top coat. - How do I keep the design from chipping?
Cap the free edge with top coat, avoid hot water right away, and wear gloves for chores. - Can I mix different butterfly styles on one hand?
Yes, keep colors consistent and choose one “hero” nail so the set feels balanced. - What nail shape fits butterfly art best?
Almond and oval enhance wing curves, while short square works well for minimal designs. - How do I make small details look neat?
Use thin brushes, wipe excess polish, and work in short strokes; clean edges with a tiny brush. - Are matte finishes good for butterfly themes?
Yes, matte softens bright colors and makes outlines crisp; seal crystals with glossy top coat. - Can I use press-on nails for these designs?
Absolutely—decorate press-ons flat, let them cure fully, then apply for fast, tidy results