Cherry Blossom Nails | A Friendly nail art design Guide
First blooms, soft pink skies, and a manicure that feels like spring—Cherry Blossom Nails bring that gentle vibe to your fingertips. This look is delicate but totally doable at home with a dotting tool, a fine brush, and a steady top coat.
In this guide, you’ll get step‑by‑steps, easy variations, and pro tips for long wear. We’ll cover gel and regular polish, work on short and long nails, and show shapes and finishes that make blossoms pop. Think calm, pretty, and photo‑ready in under an hour.
What/Overview
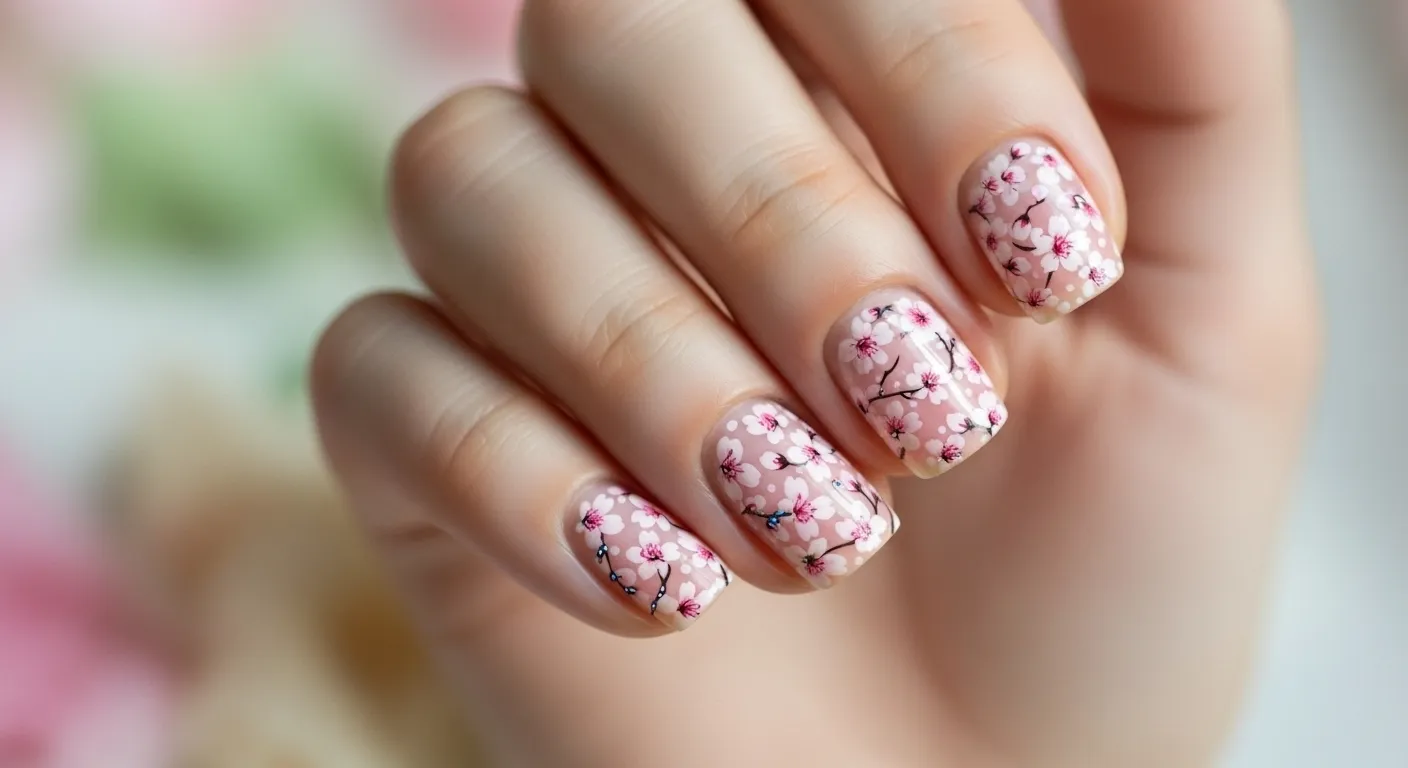
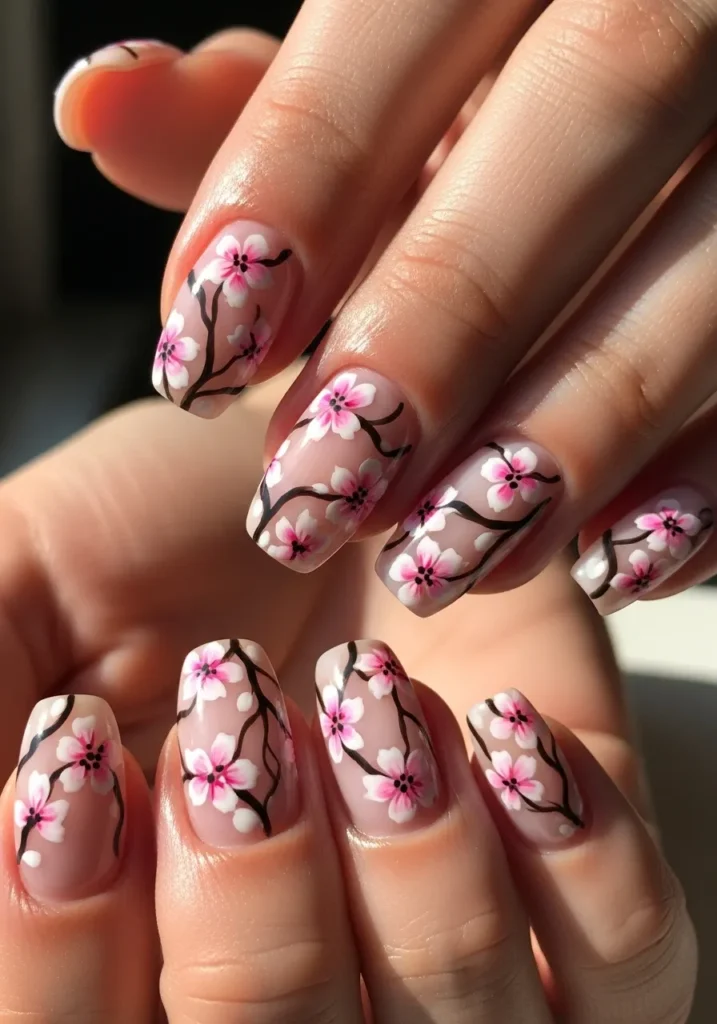
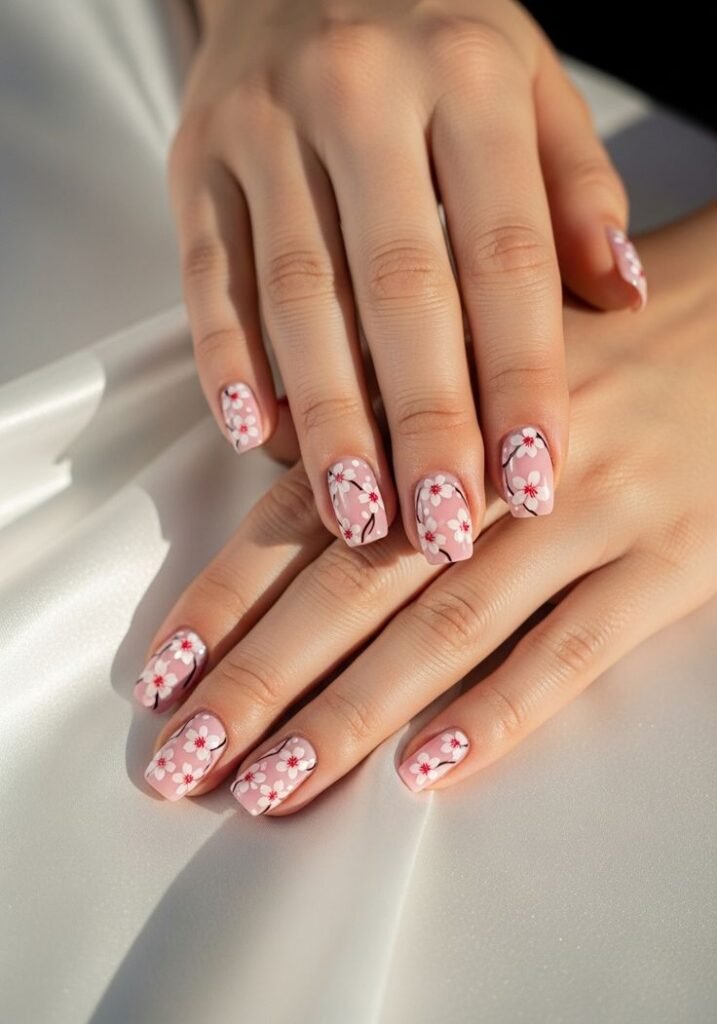
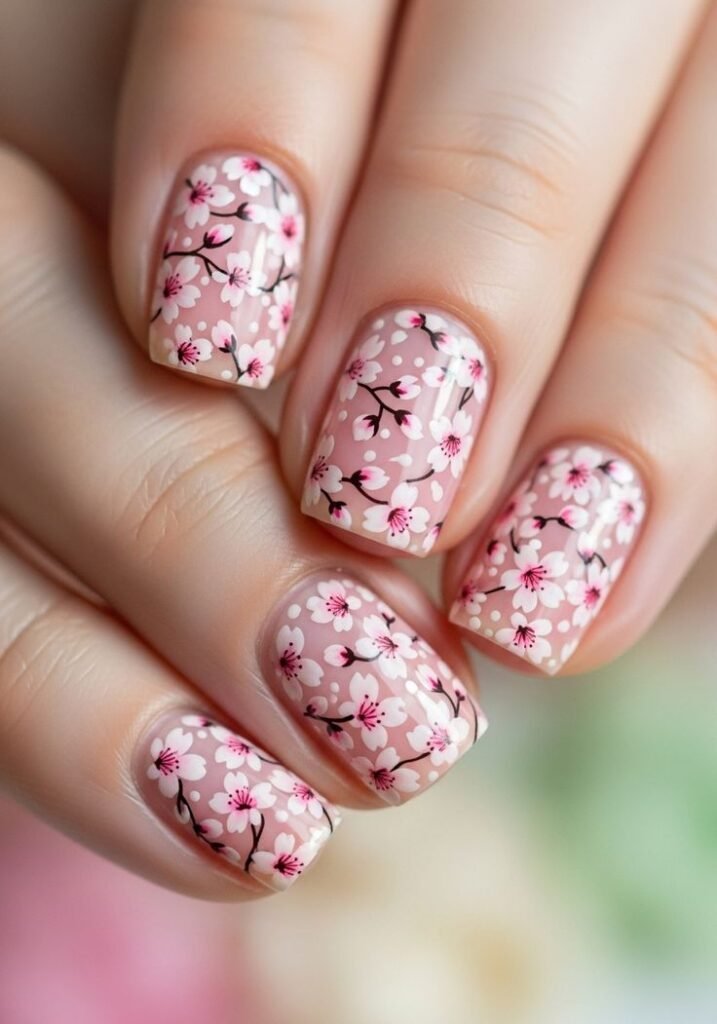
Cherry Blossom Nails (a.k.a. sakura nails) combine a soft base, slender brown/black branches, and tiny five‑petal blossoms in pinks and whites. You can paint them freehand, stamp them, or use decals each method looks fresh if you keep the composition airy and the petals light.
Tools & Materials

Polishes and Colors
- Base: sheer pink, milky nude, or baby blue (sky effect)
- Branch: chocolate brown, soft black, or charcoal
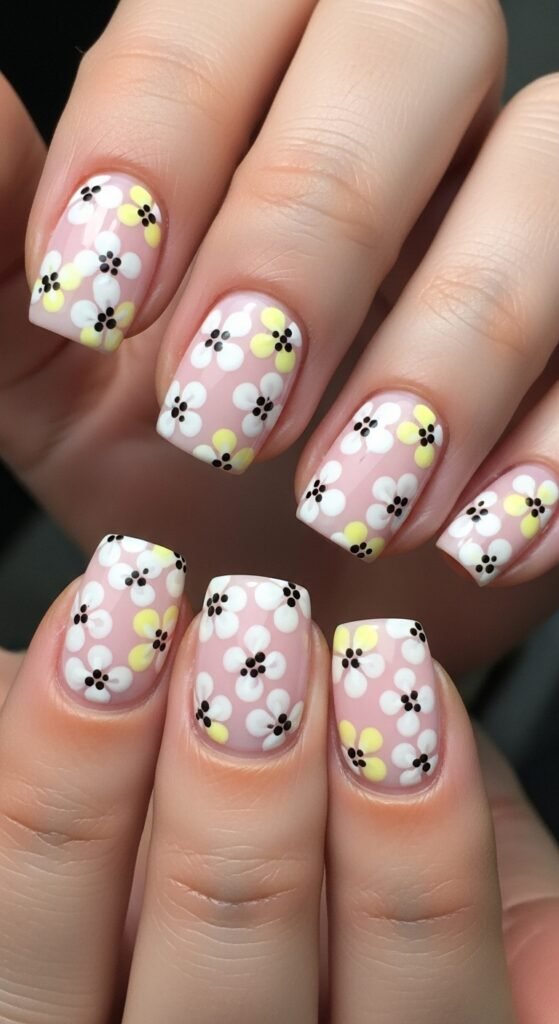
- Petals: blush pink, bright pink, and white
- Centers/accent: pale yellow, gold dot, or tiny rhinestone (optional)
- Top coat: glossy or matte (both work beautifully)
Tools
- Dotting tool (or bobby pin/toothpick)
- Fine liner/detail brush (or a sharpened art brush)
- Clean‑up brush + acetone/alcohol
- Nail file, buffer, cuticle pusher, cuticle oil
- Optional: stamping plate with blossoms, nail decals/stickers, gel system + lamp
Nail Prep & Shaping
- File to shape: round/oval/almond elongates the hand and suits delicate art; square works too—keep corners softened.
- Gently push cuticles; buff lightly to remove shine; cleanse with alcohol.
- Apply base coat and let it dry fully (or cure if using gel).
Base Choices (Tone Sets the Mood)
- Sheer pink: classic, soft, bridal‑friendly.
- Milky nude: modern, editorial, pairs well with matte top coat.
- Blue‑to‑white ombré: sky backdrop for floating petals.
- Shimmer wash: barely‑there sparkle under blossoms.
Step‑by‑Step: Classic Cherry Blossom Nails (Regular or Gel)
1) Paint the Branches
- With a fine liner, draw thin, slightly curved branches starting near the sidewall or cuticle and tapering out. Keep them airy—imperfection looks natural.
- Add 1–2 tiny offshoots. Let dry 2–3 minutes (or flash cure).
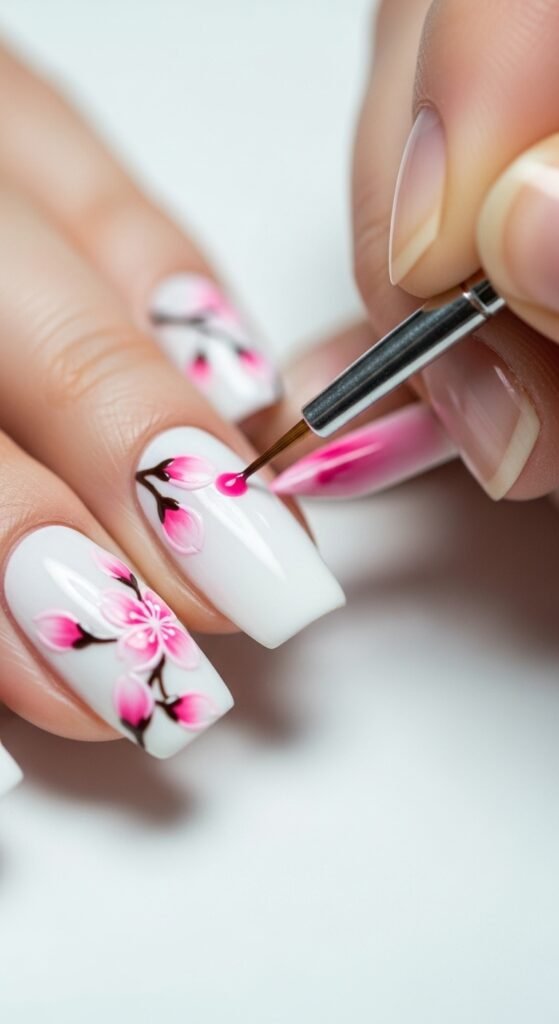
2) Create Petals (Dot + Drag)
- Using a dotting tool, place five small dots in a loose circle for each blossom.
- With a clean liner or the tip of the dotting tool, drag each dot inward toward the center to form tapered petals. Vary sizes: a few full flowers + a couple of partials on edges.
3) Add Highlights and Centers
- Dot white at petal tips or layer a white petal over a pink one for dimension.
- Place a micro‑dot of yellow or gold in the center; optional single micro‑rhinestone for sparkle.
4) Seal
- When fully dry, float a glossy top coat (or matte for a paper‑petal look). Cap the free edge.
Alternative Methods (If You Don’t Want to Freehand)
Stamping
- Use a cherry blossom plate; pick up with stamper; place over a soft base. Fill petals with pink/white using reverse stamping for dimension.
Decals/Stickers
- Apply on fully dry polish; press gently; seal with two thin top coats. Trim excess with a clean‑up brush dipped in acetone.
Press‑Ons

- Paint blossoms on press‑on tips first; glue or adhesive‑tab them later for events.
Quick Ideas / Variations
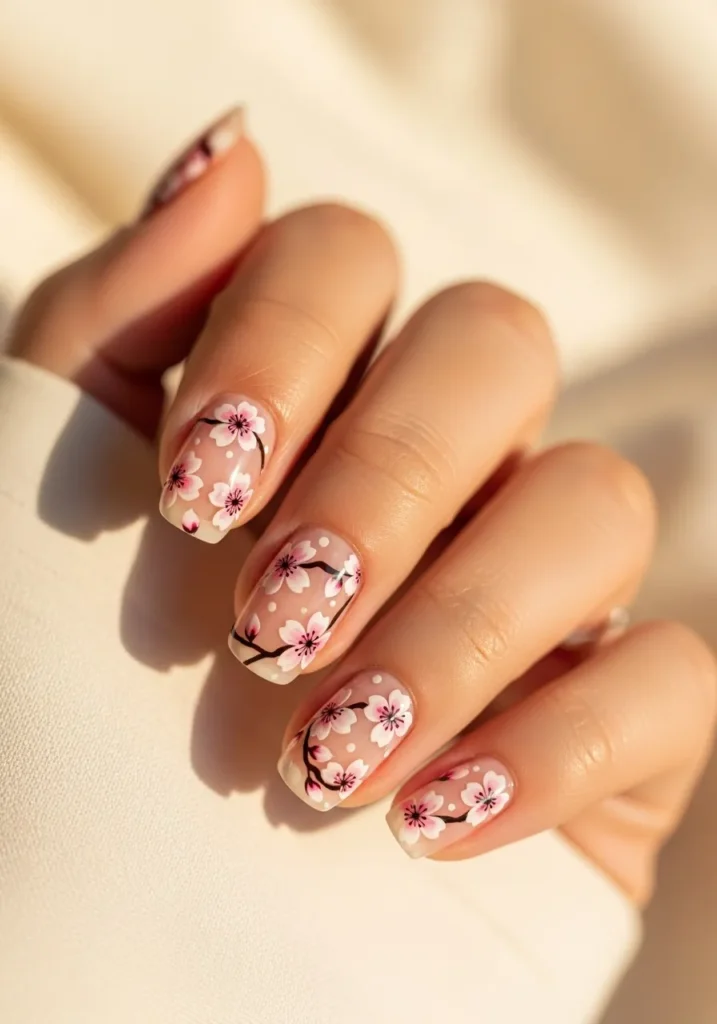
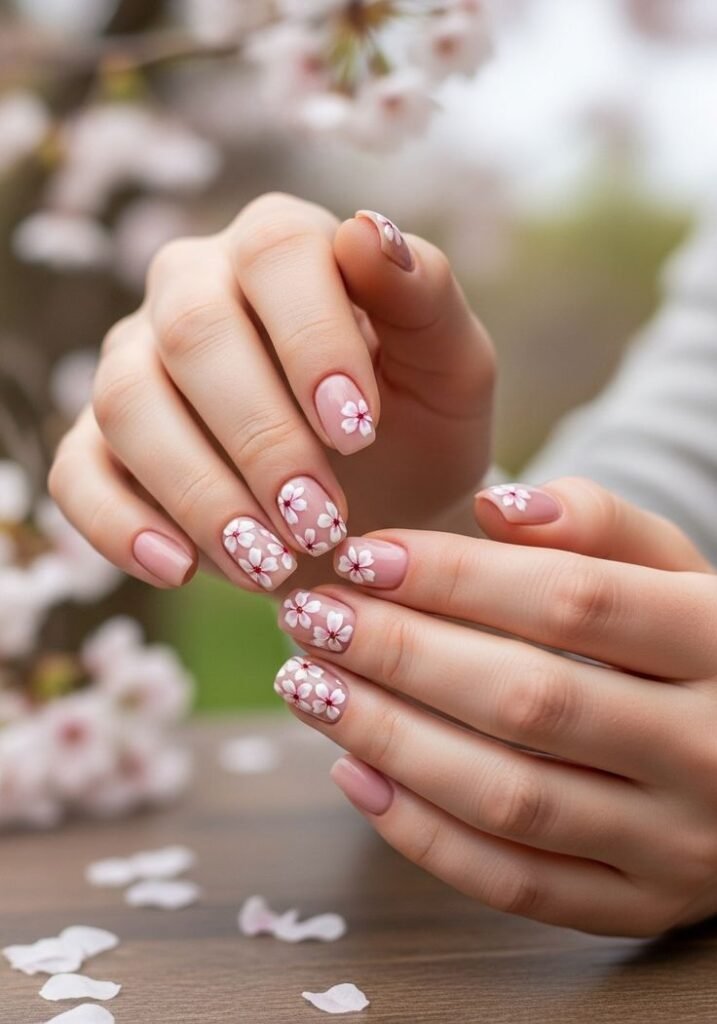
- Minimal Accent: One slender branch + two blossoms on ring finger; sheer nude on others.
- French Blossom Tips: Soft white French + tiny blossoms sprouting from the smile line.
- Floating Petals: No branch, just scattered pink/white petals across a milky base.
- Blue Sky Ombré: Pale blue gradient base + white blossoms + gold micro‑dots.
- Matte Sakura: Matte top coat over sheer pink for a paper‑petal finish.
- Black Canvas: Charcoal/black base with pale pink blossoms—high contrast, evening chic.
- Gold Foil Kiss: Tiny foil flakes at branch intersections for luxe sparkle.
- 3D Pearls: Micro pearls as blossom centers on two accent nails.
- Negative Space: Clear base with blossoms hugging the sidewall.
- Micro Blossom French: Micro‑thin French lines; minuscule blossoms at corners.
- Gradient Petals: Mix blush → rose on each petal; add white highlight.
- Short Nail Friendly: Keep blossoms smaller; one branch from lower corner elongates the plate.
Why These Ideas Work
- Soft bases + airy spacing keep the design delicate, never crowded.
- Thin branches and varied blossom sizes feel natural—like real sakura sprigs.
- Contrast options (matte vs glossy, light vs dark base) let you match outfits and occasions.
- Scaled designs flatter all lengths—from short, practical nails to long almond tips.
Pro Tips & Troubleshooting
- Shaky lines? Rest your painting hand on the table; draw branches in quick, light strokes.
- Smudging under top coat? Let art dry a couple of minutes; float top coat with a loaded brush—don’t drag.
- Petals look blobbed? Use less polish on the dotting tool; clean between flowers.
- Composition hack: Place one main cluster off‑center and two small accents to create balance (rule of thirds).
- Longevity: Cap edges; two thin layers of top coat last longer than one thick layer.
Variations & Substitutions
- No dotting tool? Use a bobby pin, toothpick, or ball‑ended sewing pin stuck in a pencil eraser.
- No liner brush? Trim a cheap paintbrush to a few hairs.
- Color swaps: peach, lilac, or white‑on‑white blossoms for bridal looks.
- Centers: gold paint, chrome powder dot, or tiny caviar beads.
- Medium: gel for 2–3 weeks’ wear; regular polish for easy removal; soft gel extensions for more canvas.
Maintenance & Care
- Daily: cuticle oil (keeps polish flexible), gentle hand cream.
- Chores: wear gloves; avoid long soaks that lift edges.
- Chips: spot‑fix the area, then re‑top‑coat the whole nail.
- Gel: buff top, infill or remove after 2–3 weeks to avoid lifting; never peel.
Styling / Use Cases
- Brunch & Daydates: sheer pink blossoms + gold jewelry, flowy dress.
- Work‑Polish: nude base, micro blossoms on two accents.
- Spring Weddings: ombré sky with white blossoms and matte finish.
- Evening: black base, blush blossoms, glossy top, minimal rings.
Quick Checklist
- Prep: shape, cuticles, base coat.
- Base: sheer pink/nude/sky ombré; dry fully.
- Branch: thin, curved lines; airy placement.
- Blossoms: five dots → drag inward; vary sizes.
- Centers: gold/yellow dot (optional).
- Seal: float glossy or matte top coat; cap edges.
- Care: cuticle oil, gloves for chores, spot‑fix chips.
Conclusion
Cherry Blossom Nails look intricate but come together with simple moves: thin branches, dot‑and‑drag petals, and a careful top coat. Choose a soft base, keep the composition airy, and seal it well. With the variations and tips above, you can match any mood—from minimal daytime to bold, high‑contrast evening while keeping that calm, spring feel on your nails.
FAQs
- Will this work on short nails?
Yes. Keep blossoms small and place a branch diagonally from a corner to elongate. - How long does it take?
About 40–60 minutes including prep and dry time (faster with gel and flash cures). - Gel or regular polish?
Gel lasts longer and resists smears; regular is quicker to remove at home. - Do I need nail art brushes?
A fine brush helps, but a trimmed cheap brush + a bobby pin can do the job. - How do I stop top coat smearing?
Let art dry briefly, then float a well‑loaded top coat—light pressure, one pass. - Are decals easier?
Yes—great for beginners. Seal with two thin top coats for a seamless look.