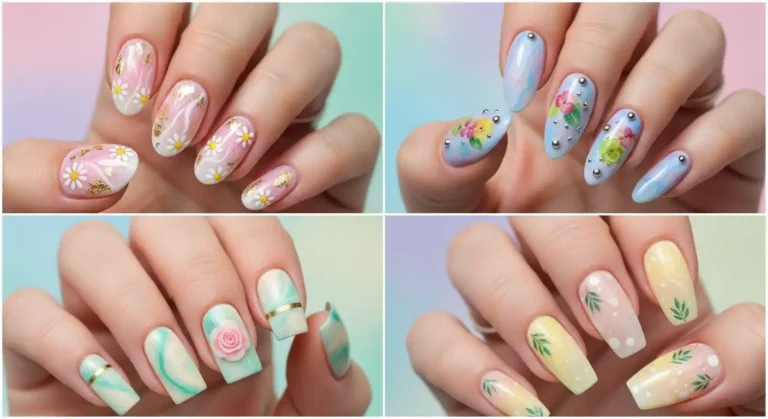
15 Easy Watermelon Nail Design Ideas for a Fresh Summer Manicure
Hot summer days often make plain manicure styles feel dull and repetitive, leaving nails looking uninspired and lifeless while people want fresh, fun, and colorful seasonal beauty updates easily today.
Many people struggle to create trendy nail looks at home without complicated tools or salon visits, which leads to boring results and limited creative seasonal inspiration like Watermelon Nail Design.
These easy ideas help transform basic nails into fresh summer styles using simple colors, patterns, and creativity, making home manicures fun, stylish, and suitable for any occasion all summer long.
What Is a Watermelon Nail Design?
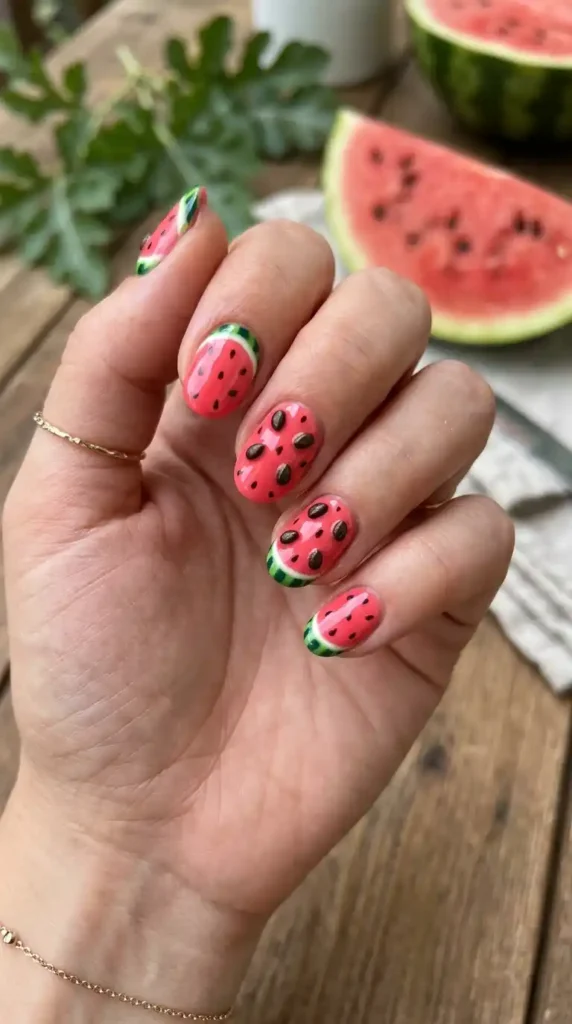
A watermelon nail’s design is any manicure that draws from the fruit’s colour palette or shape typically combining pink or red for the flesh, green for the rind, and black dots for seeds.
Designs range from a literal watermelon slice on an accent nail to abstract colour combinations that simply borrow the summer palette without depicting the fruit directly.
What Colours and Tools Do You Actually Need?
Before you start, you need five things: a pink or coral red polish, a bright green and a darker green, a black striper or thin art brush for seeds, and a clear top coat. If you’re doing anything more detailed than a colour block, a dotting tool and a thin striping brush are worth the few dollars they cost.
For jelly or ombre variations, a sponge applicator or even a torn piece of makeup sponge is all you need. For polish references: Essie Watermelon is the classic go-to for the flesh colour. For gel, OPI’s “Strawberry Margarita” sits in the right pink red zone. Olive & June does an excellent bright lime green if you want something more accessible for at-home gel kits.
15 Cute Watermelon Nail Designs for a Bright Summer Manicure
Watermelon nails are a fun summer manicure idea with bright pink, green, and black seed accents. They create a fresh, cute, and eye-catching seasonal look. I am going to share 15 adorable watermelon nail ideas for a bright summer manicure.
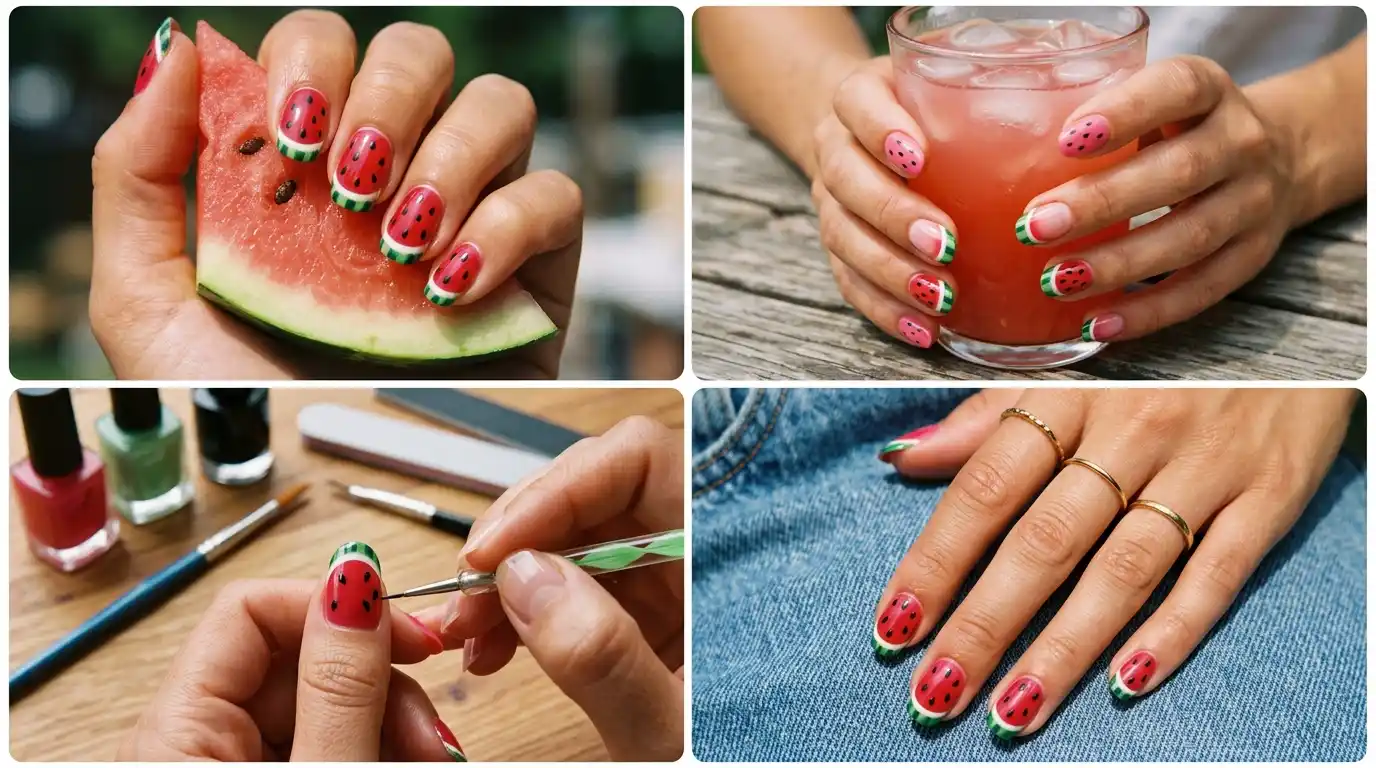
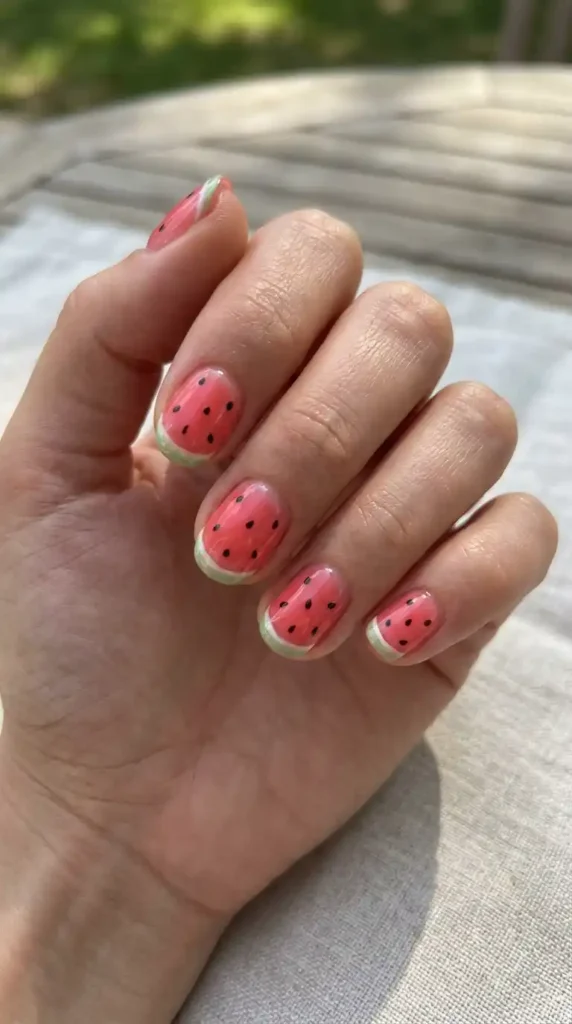
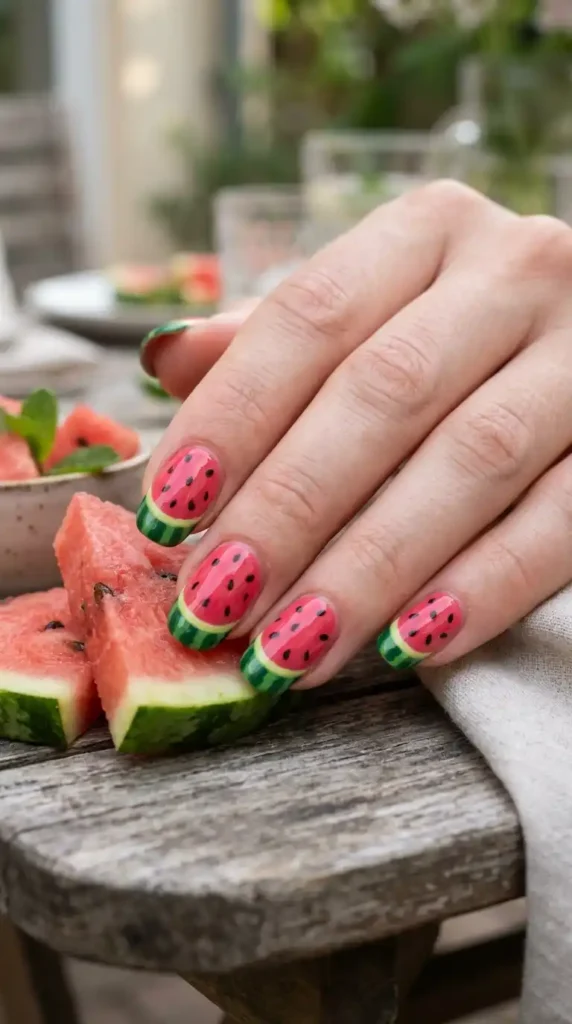
1. Classic Watermelon Slice
Paint your nails a warm pink or coral red, let it dry, and use a thin brush to add a curved green tip along the free edge. A thin white stripe between the pink and green mimics the pith, making the watermelon nail design look more realistic and polished.
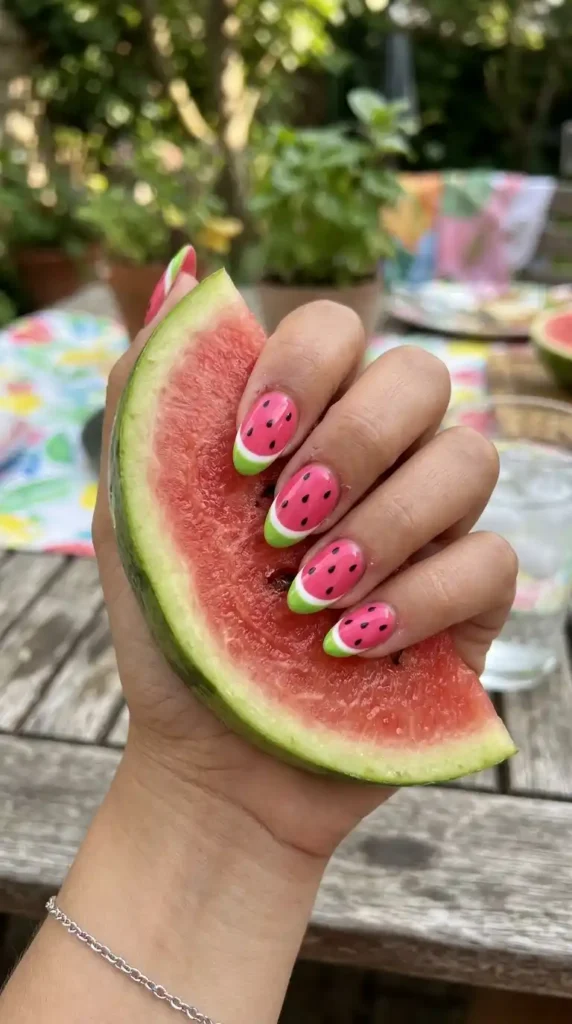
Tip: Finish with five or six tiny black dots scattered across the pink section. It reads instantly as watermelon and takes under ten minutes once you have done it once.
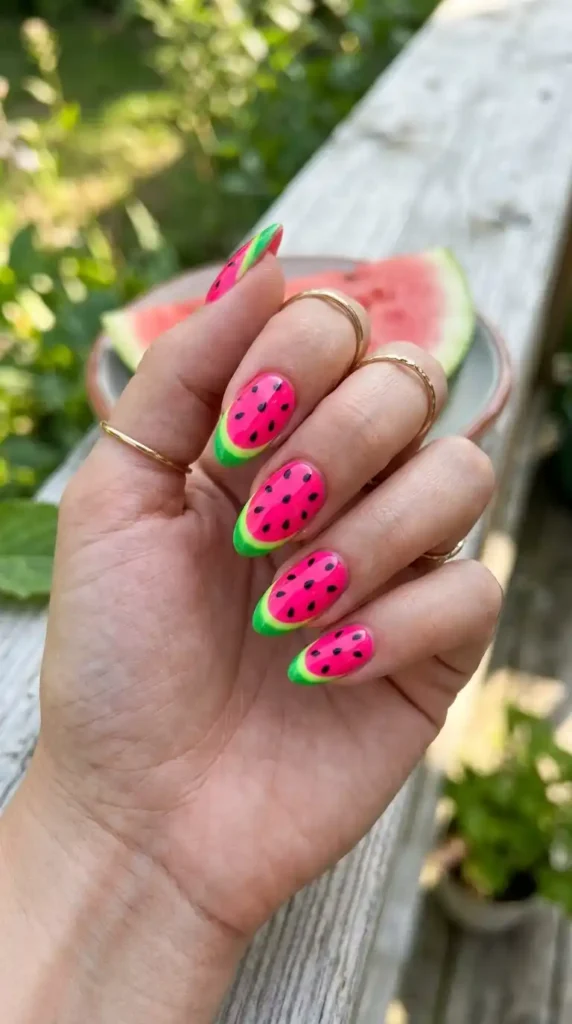
2. Watermelon French Tip
Swap your usual white French tip for a bubblegum pink one, then trace the very edge of that tip with a thin line of green. That green edge transforms a standard French manicure into a watermelon reference.
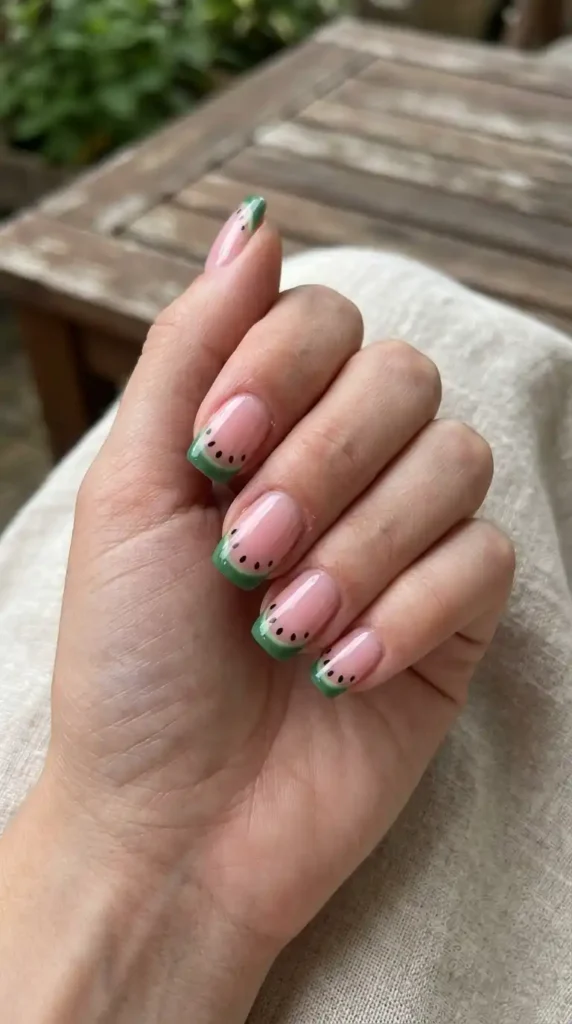
Tip: This works beautifully on both short and longer nail shapes and is restrained enough for most offices. See our roundup of French tip nail ideas for more variations on this silhouette.
3. Jelly Watermelon Nails
Jelly polish, sheer, translucent and glass like, is one of summer 2025’s biggest nail finishes and pairs perfectly with the watermelon palette. Use a sheer pink jelly polish as your base and layer a translucent green over just the tip.
Tip: The see through quality of the formula gives the whole look a juicy, almost edible appearance. Skip the seeds on this one; the clean simplicity is the point.
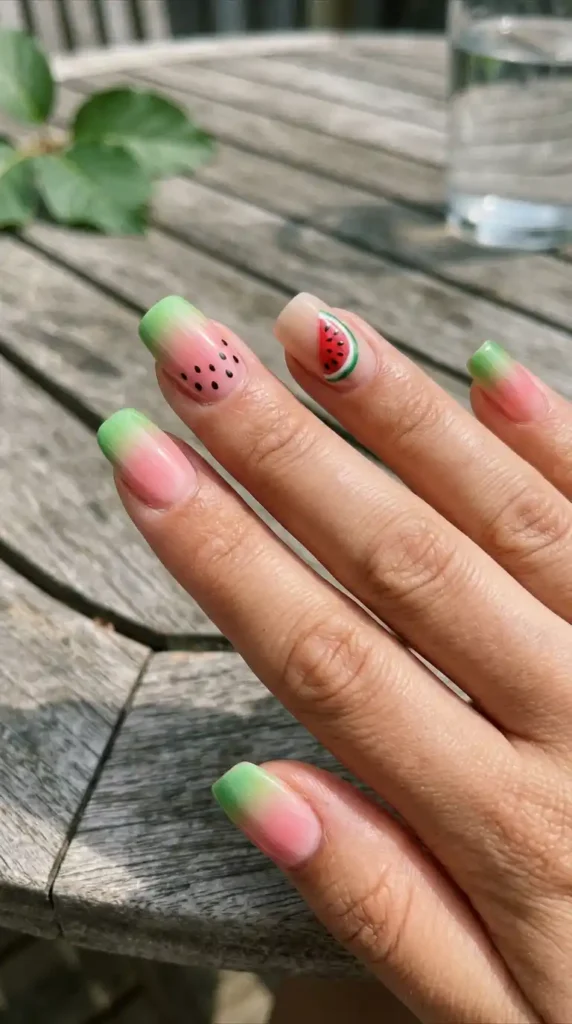
4. Watermelon Aura Nails
An aura nail is a soft, blurred gradient at the centre of the nail that fades outward. For a watermelon aura, start with a white or sheer base, then sponge a circle of bright pink in the middle.
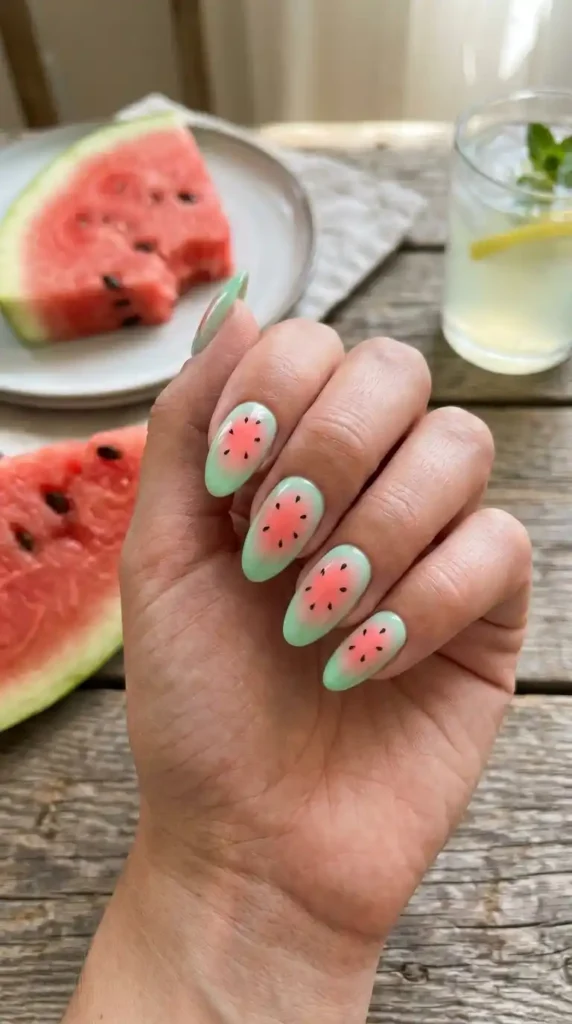
Tip: When dry, add a thin faded ring of green around the edges using the same sponge technique. The result reads as watermelon energy rather than a literal slice, which suits those wanting a subtle take.
5. Minimalist Cuticle Outline
Paint your nails in a neutral pink or milky sheer. Once dry, use a thin art brush and green polish to draw a thin arc along the cuticle edge of one accent nail for a refined detail.
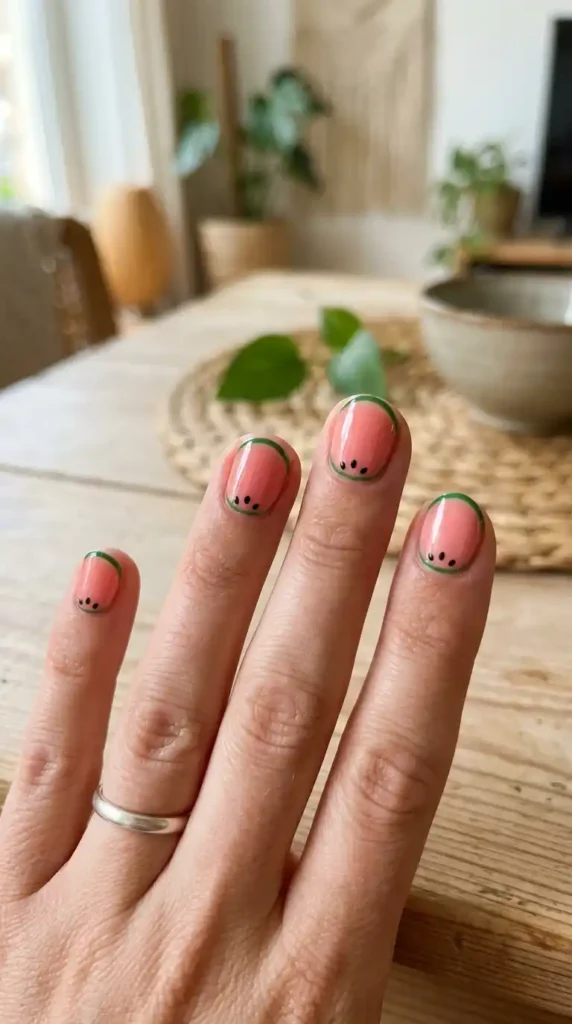
Tip: Add two or three black seed dots just inside that arc. One nail, three brushstrokes, and the watermelon reference is quietly there for anyone who looks closely enough to notice.
6. Watermelon Colour Block
No nail art tools required. Paint your index and middle fingers pink, your ring finger green, and your pinky and thumb clear or white. The colour blocking does all the work without a single detail stroke.
Tip: This also works beautifully if you alternate pink and green across both hands with no set pattern. That approach gives a more playful, less coordinated look that still feels intentional.
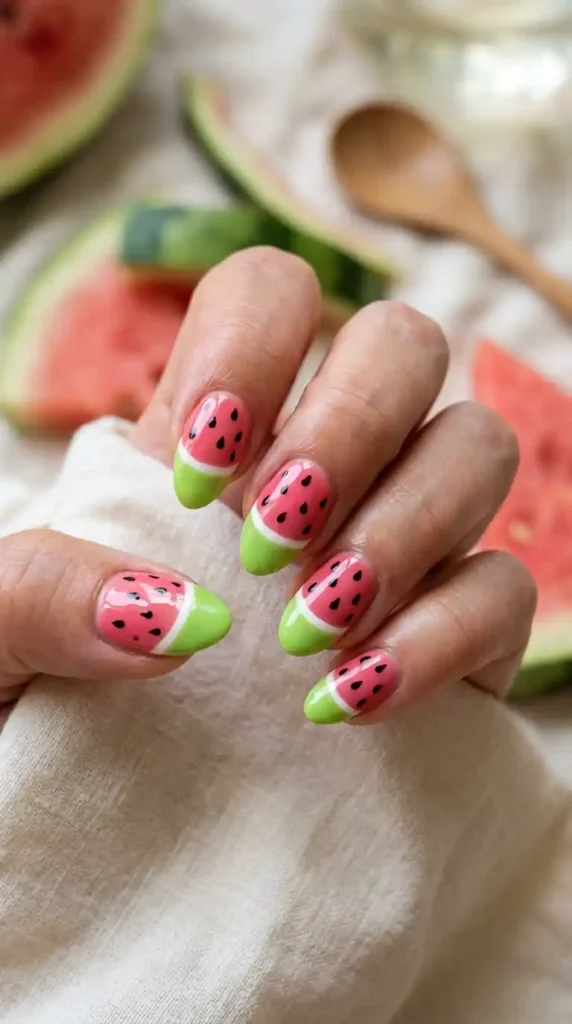
7. Accent Nail Slice
Keep all nails in a solid coral pink and paint one accent nail, usually the ring finger, with the full watermelon slice treatment: pink base, green tip with white pith line, and black seeds throughout.
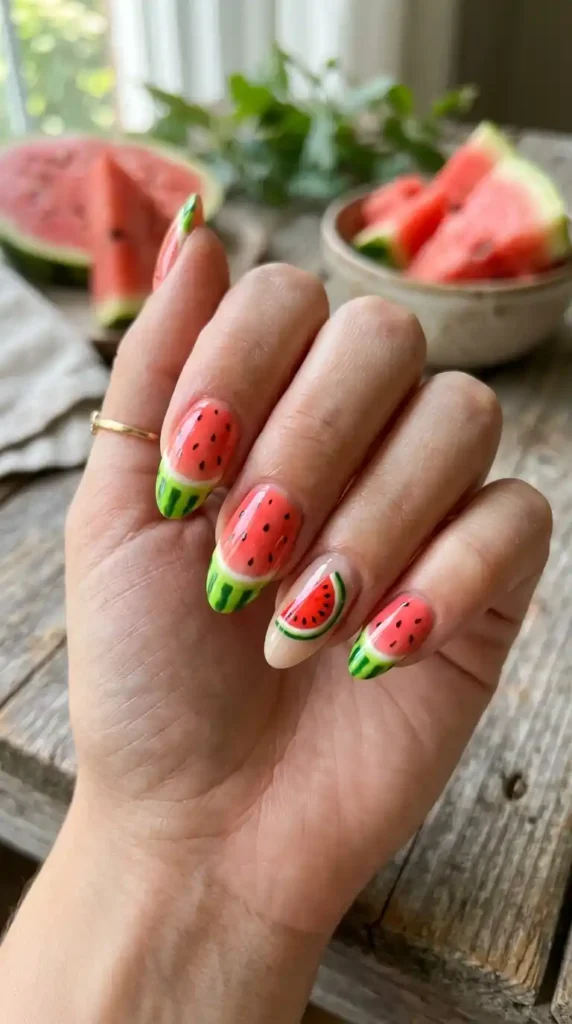
Tip: The contrast between the clean solid nails and the one detailed nail draws the eye exactly where you want it. The overall look stays polished rather than overwhelming, making it perfect for beginners experimenting with nail art.
8. Neon Watermelon
Take the classic slice and amplify it with neon versions of every colour. Use neon pink flesh, electric lime rind, and white seeds instead of black for a bold and high energy summer look.
Tip: White seeds are the detail that makes it pop. Against a bright neon base, black can disappear, but white creates maximum contrast. This version looks especially strong on shorter square or squoval nails.
9. Watermelon Ombre
Using a sponge, blend pink at the base of the nail gradually into red toward the tip, then add a thin green crescent at the free edge. The ombre replicates the colour depth of a real watermelon slice.
Tip: The technique takes practice to get the blend smooth, but even an imperfect gradient reads well in this palette. Seal with a glossy top coat to smooth any visible sponge texture afterward.
10. Glitter Watermelon
This is exactly what it sounds like: the classic slice with chunky or fine glitter worked into the pink base before it dries. Use loose glitter pressed into wet polish or a formula with suspended glitter already inside.
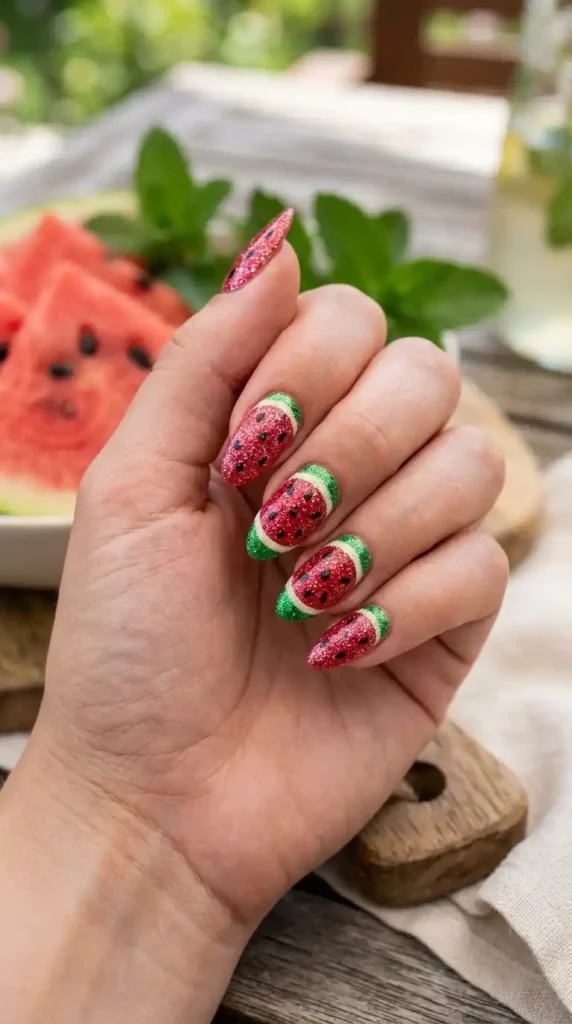
Tip: For the rind, a green holographic glitter polish adds great dimension. This design holds up especially well as a gel manicure because the glitter stays sealed and does not snag on anything.
11. Watermelon Stripe
Instead of the traditional curved rind, use a striping brush to paint thin vertical lines alternating pink and green down the length of the nail. Scatter black seed dots between the stripes for a graphic, eye-catching finish.
Tip: This design is more graphic than the classic slice and feels slightly retro. It works particularly well for festival looks or summer holiday sets, and the handmade wobble of the lines adds to the appeal.
12. Abstract Watermelon
This version is for people who like nail art but find literal fruit a little too cute. Use the watermelon palette of pinks, greens, and black to paint loose brushstroke shapes and smudged colour fields instead.
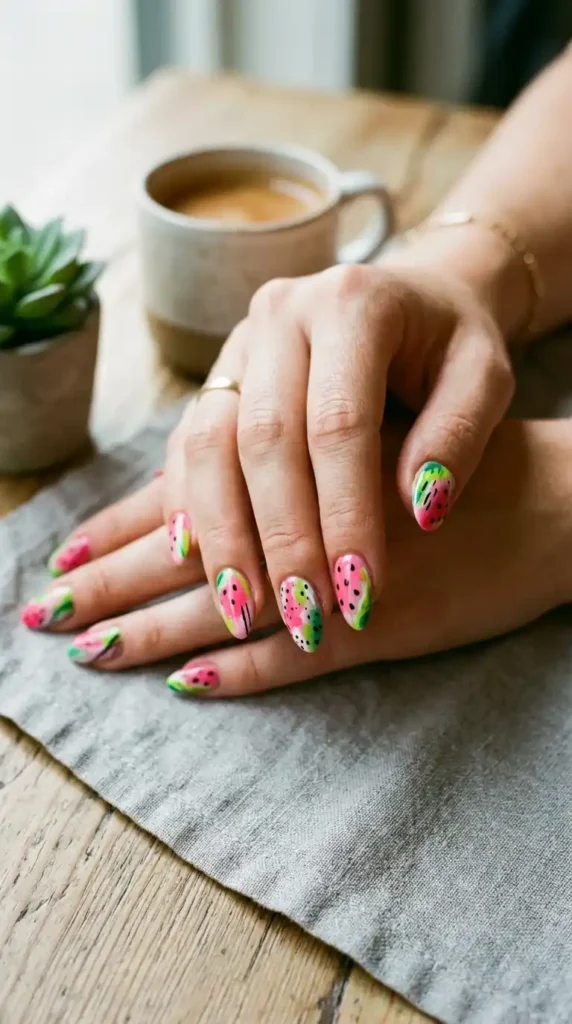
Tip: Think Matisse cutouts rather than clip art, and let no two nails match. Because the shapes are intentionally loose, this design is forgiving of unsteady hands compared to more structured slice designs.
13. Watermelon Drip
This is largely salon territory but worth knowing about. A white or pale pink base features a watermelon coloured drip painted coming over the cuticle, as though pink and green paint poured downward from the top of the nail.
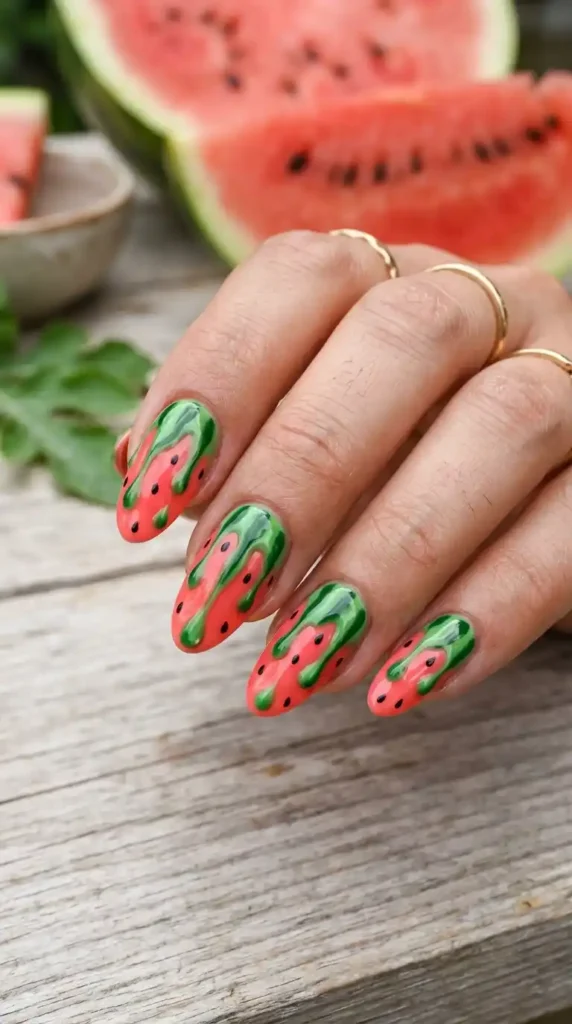
Tip: The drip effect requires a thin brush and a confident hand to look intentional rather than messy. When it lands right, it is one of the most eye-catching watermelon nail design in any feed.
14. Fruit Salad Mix
Watermelon nail shares the fruit core aesthetic seamlessly with strawberries, dragonfruit, and kiwi. Paint each nail as a different fruit: one watermelon slice, one kiwi cross-section, one strawberry, and let the overall set read as a summer fruit platter.
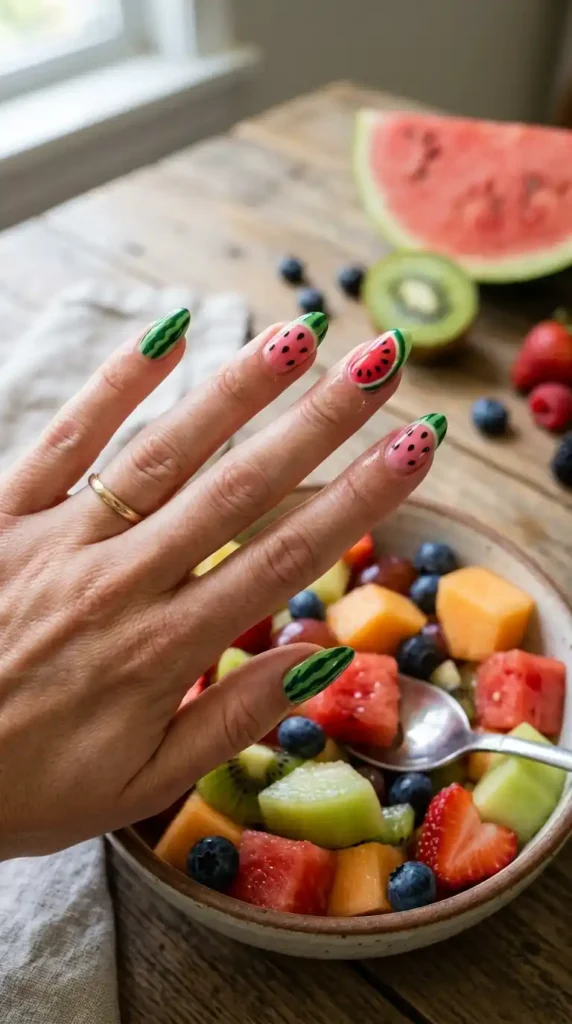
Tip: This requires comfort with multiple nail art techniques rather than one advanced skill. If you can do the classic slice and a few simple shapes, you already have everything you need to complete this look.
15. 3D Watermelon Seeds
Using black acrylic gel or 3D nail gel, build slightly raised seed shapes onto a pink nail. Even tiny raised dots create enough texture to feel tactile, and the dimension catches light in a way flat nail art cannot replicate.
Tip: This technique is typically done in a salon with UV-cured builder gel, though some press-on kits now include pre-made 3D elements for home application. The payoff in photographs is immediate and striking.
How Long Do Watermelon Nail Designs Last?
These nail designs usually last depending on the polish type and how well they are maintained. With basic care, they can stay neat for several days to a few weeks.
- Regular nail polish typically lasts about 5–7 days before chipping starts, especially if hands are frequently exposed to water or cleaning products.
- Gel watermelon nails can last 2–3 weeks because gel polish is more durable and resistant to everyday wear and tear.
- Proper nail preparation like cleaning, buffing, and applying a good base coat helps the design stick better and last longer.
- Daily habits such as washing dishes without gloves or using nails as tools can significantly shorten the design’s lifespan.
- Top coat maintenance and occasional touch-ups help preserve shine, prevent chipping, and extend the overall freshness of the watermelon nail art.
Conclusion
These ideas keep summer manicures fresh, playful, and easy to recreate at home. They work well for beginners and offer endless ways to experiment with color, pattern, and style.
Overall, the watermelon nail design adds a fun seasonal touch that elevates simple looks while remaining practical. With the right care, each manicure can remain stylish and eye-catching for days.